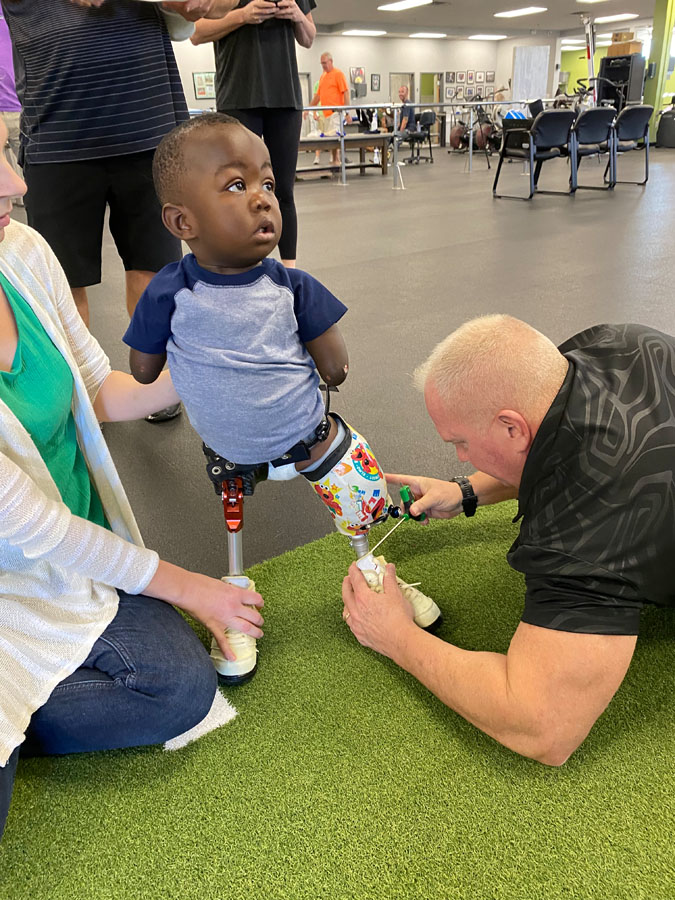
Whether you are a new amputee or have used a prosthesis for years, the entire team at POA is dedicated to making your experience comfortable. This guide covers what to expect during your fitting and highlights what truly sets us apart:
We will begin gathering information from you, including an assessment of your strength and activity level. We will also discuss and determine your goals and expectations. The prosthesis we design will be created specifically with your lifestyle in mind.
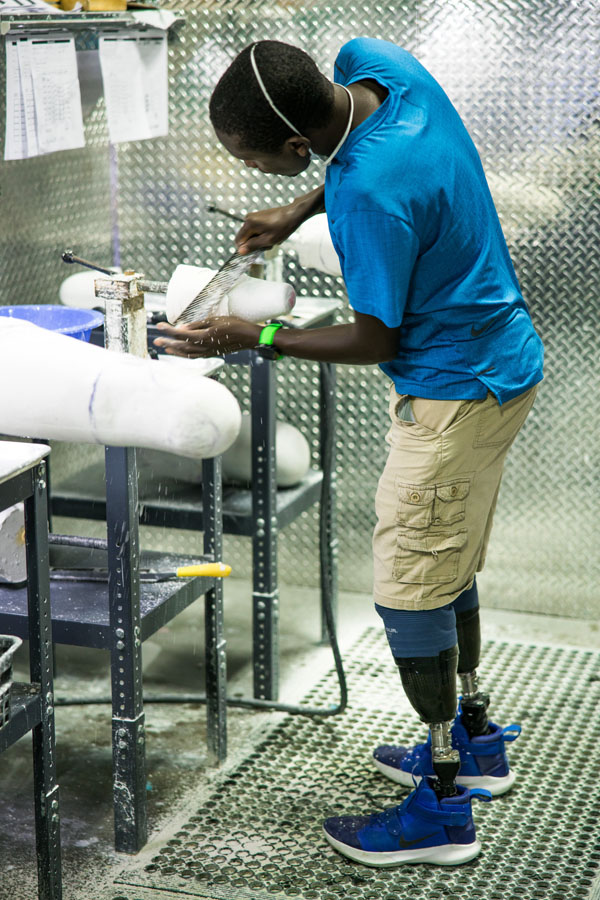
You will be measured for and fit with a silicone liner. The liner is the foundation of your prosthesis, and will fit your limb like a glove. For those residual limbs with bony prominances, neuromas, etc., a customer liner will be designed. Because our liners are made on-site, they are usually available for fitting the next day.
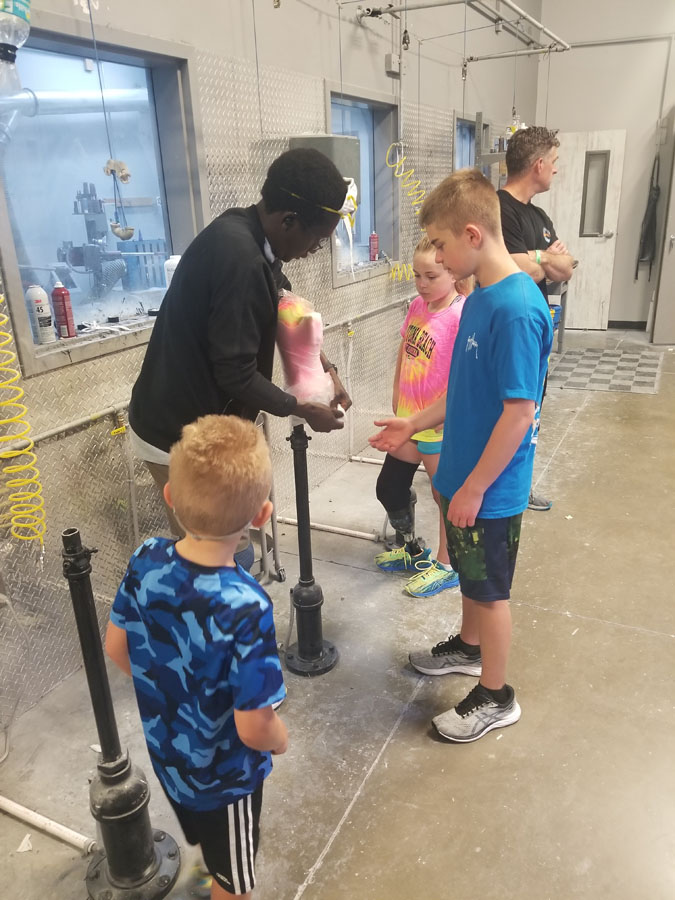
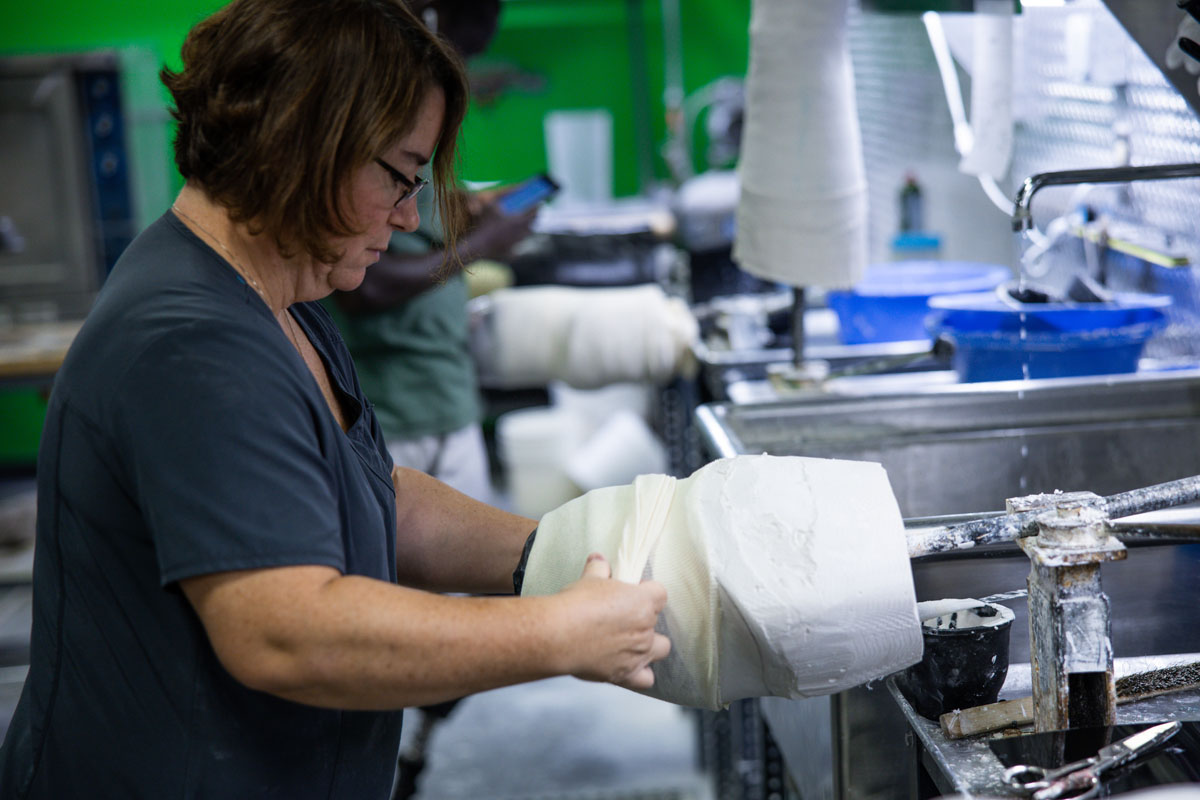
We will make a plaster cast impression of your residual limb. This may be messy! You can bring a pair of old shorts to this appointment or we will provide you with some disposable ones.
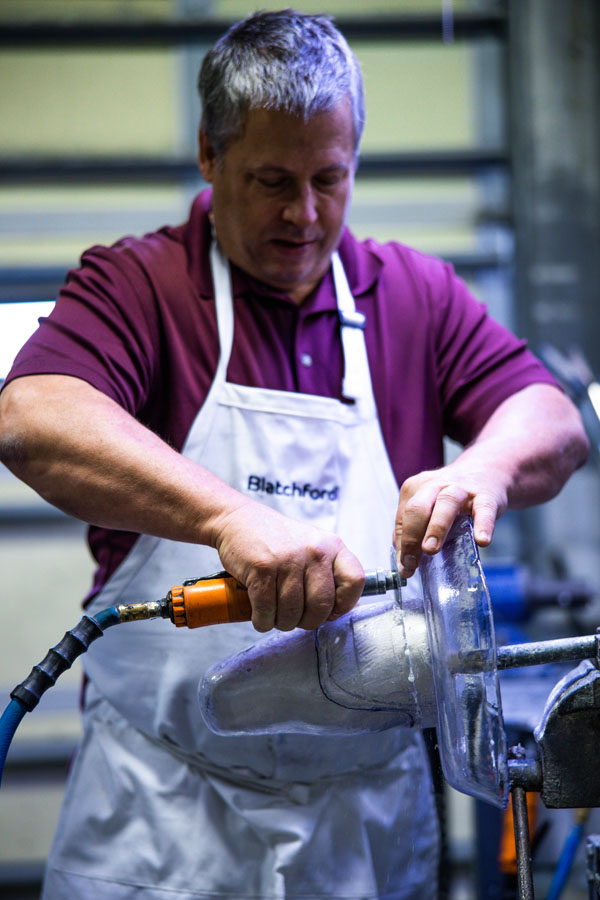
The plaster cast mold will be used to create your first test socket. It is made of a clear plastic which allows your prosthetist to look inside and check the fit as well as make any necessary adjustments to improve it. You should wear or bring a pair of shorts to all of your fitting appointments, and don’t forget to bring both shoes (you’d be surprised how many people forget about that!).
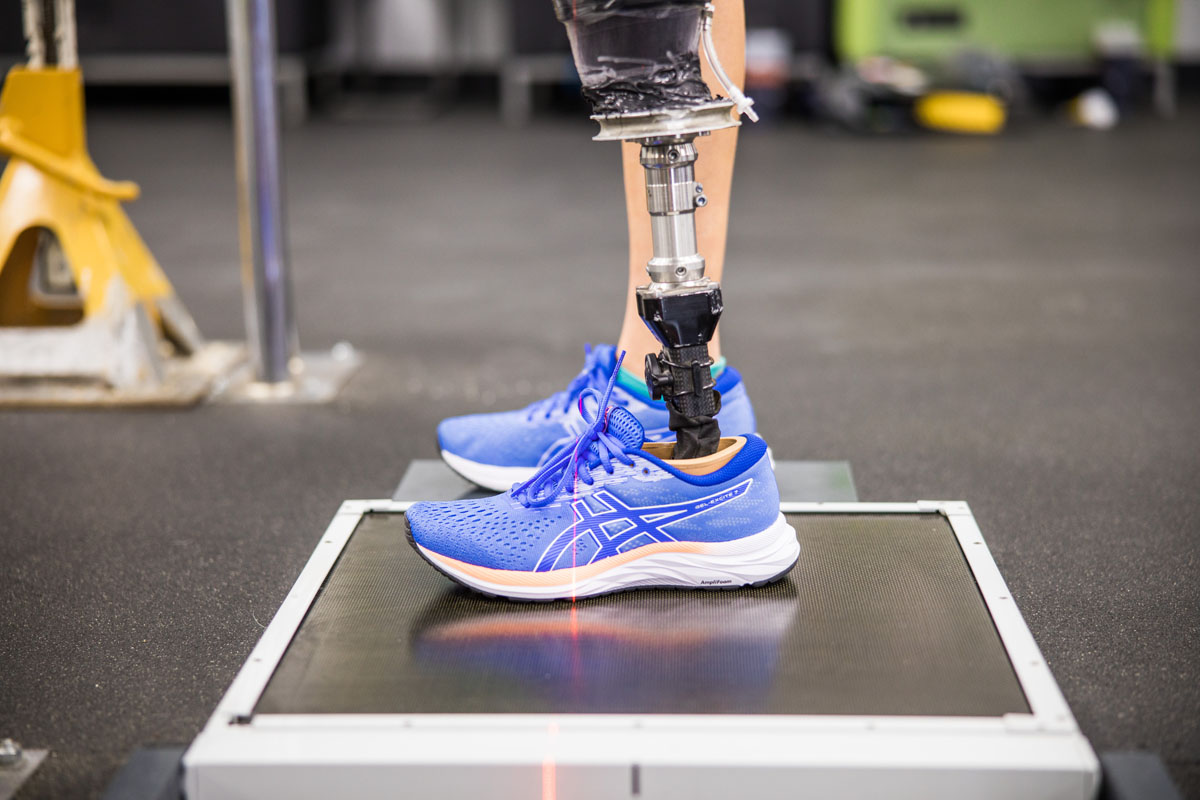
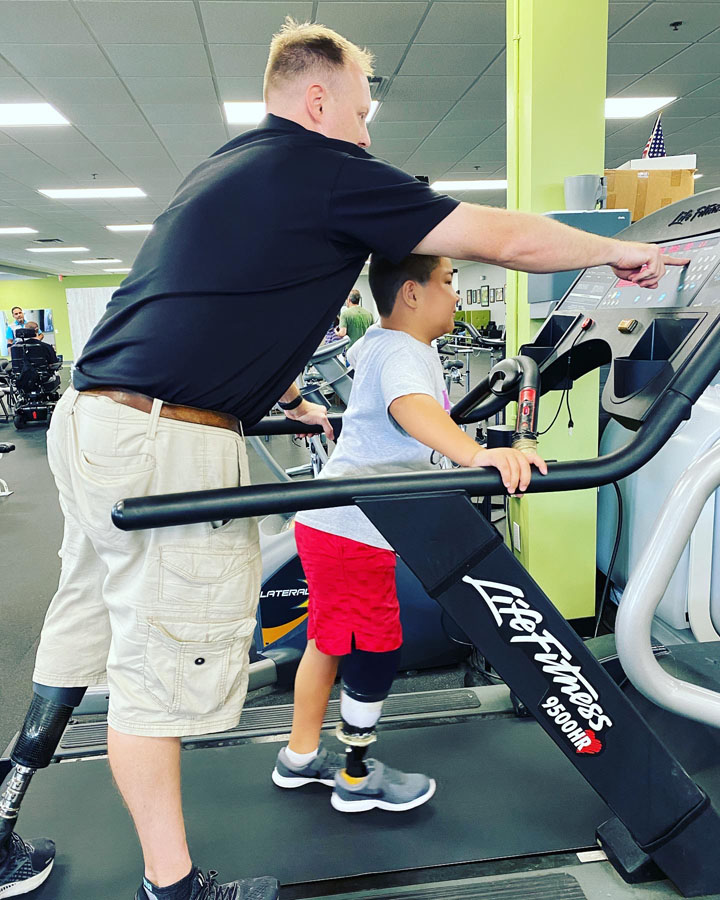
Your test socket will be attached to the prosthetic components (foot, knee, etc.) that have been selected for you. We will then tailor the prosthesis to your specific needs. This is when we will use advanced alignment tools and techniques to make adjustments which will improve your gait (how you walk) and provide the perfect combination of comfort and stability.
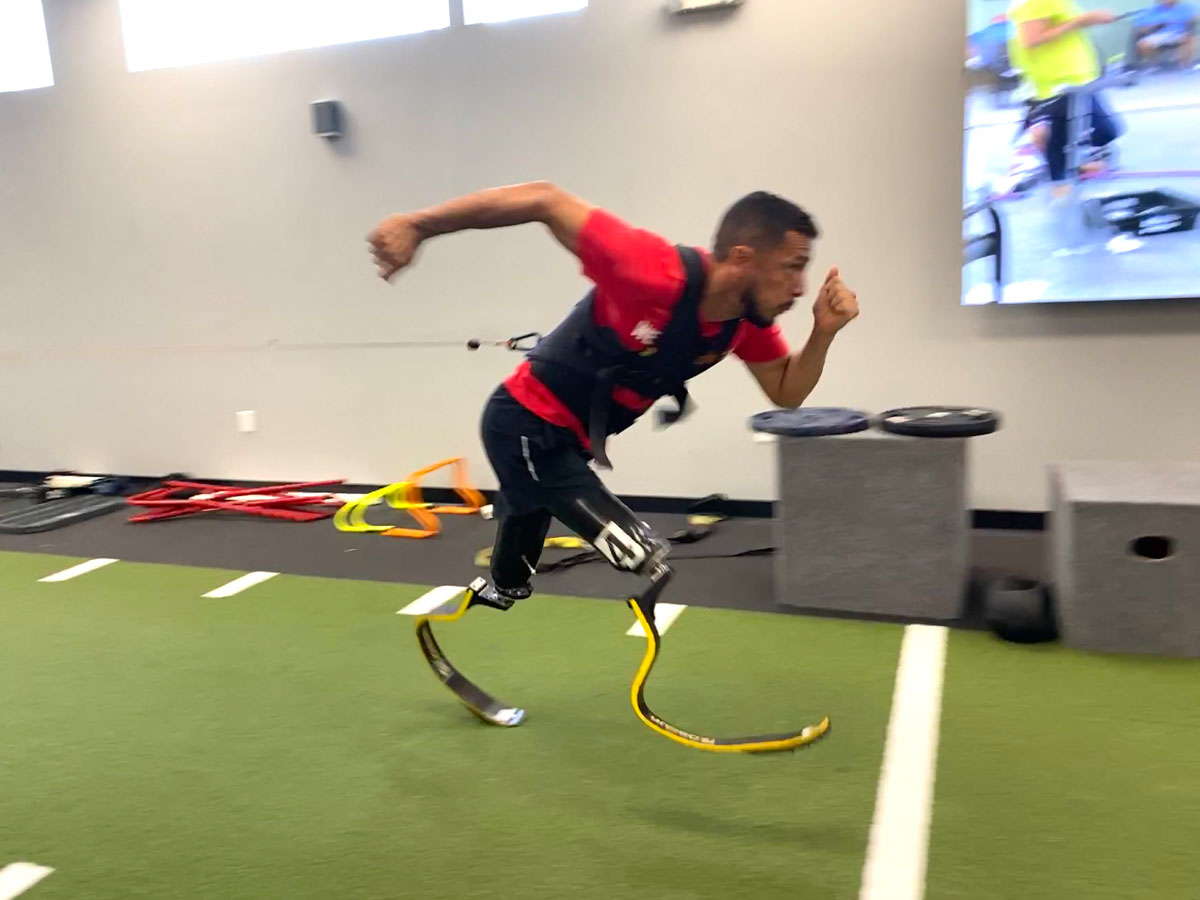
Even the most seasoned amputee can benefit from some gait training tips, and we pride ourselves on our attention to this important part of the process. Whether you are a new amputee or have worn a prosthesis for many years, our goal is to make sure you are confident and comfortable while performing all your daily tasks and special activities. We also believe it is important for you to take the prosthesis home or out in the “real world” to ensure you are happy with its performance before finalizing the socket. When you are satisfied with the way the prosthesis fits, we will laminate/finish the socket. This process usually takes 1-2 days.
During this appointment we will deliver your new prosthesis along with all the supplies you will need. We will check to make sure the socket is fitting properly and you are walking well. We will also discuss the care and maintenance of your prosthesis at this time.
At any time, please feel free to ask questions! Communication is an important part of the prosthetic fitting process, and we value your input.